
Doors Advice 09 - How to Replace Different Sizes of Glass in a Wooden Front Door: A Step-by-Step Guide
Replacing glass in a wooden front door can be a straightforward task if approached with the right tools and techniques. Whether you’re dealing with a small crack or a large pane of broken glass, this guide will take you through the process step by step, ensuring your door is both functional and aesthetically pleasing once more.
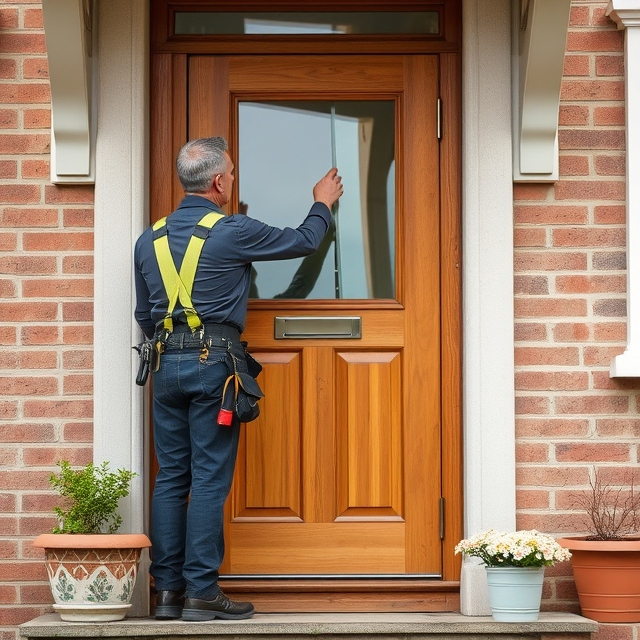
Tools and Materials Needed
Before you start, gather the following tools and materials:
- Tools:
- Screwdriver (Phillips and flat-head)
- Glazier's points or small nails
- Glass cutter (if cutting your own glass)
- Measuring tape
- Putty knife
- Hammer
- Safety glasses
- Work gloves
- Paintbrush (for applying paint or wood preservative)
- Caulk gun (for sealing)
- Materials:
- Replacement glass (pre-cut or cut to size)
- Glazing putty or silicone sealant
- Wood preservative (if required)
- Sandpaper (fine grit)
- Primer and paint or wood stain (for finishing)
Step 1: Assess the Damage
Before beginning the replacement, assess the extent of the damage to the glass and the wooden door frame. Determine whether the glass is cracked, shattered, or simply fogged due to condensation. This assessment will inform your next steps, including whether you need to replace the entire pane or just a section.
Step 2: Measure the Glass
If you need to replace the glass, you must measure the dimensions accurately:
- Remove the Broken Glass: Carefully remove any broken glass shards. Wear safety glasses and gloves for protection. If the glass is still in one piece but cracked, it can be removed by carefully prying it out of the frame.
- Measure the Opening: Use a measuring tape to measure the height and width of the glass opening. Subtract about 1/8 inch from each measurement to allow for the glazing material and any expansion or contraction of the wood.
- Choose the Right Glass: Depending on your needs, you can use single, double-glazed, or safety glass. Double-glazed units provide better insulation but may require a professional for replacement.
Step 3: Prepare the Door Frame
- Clean the Frame: Remove any old glazing putty or caulking using a putty knife. Be thorough, as any remnants can affect the new glass’s fit.
- Inspect the Wood: Check for rot or damage in the wooden frame. If you find any, you may need to treat it with a wood preservative or repair it before proceeding.
- Sand the Frame: Lightly sand the area where the new glass will sit to ensure a smooth surface for the putty or sealant.
Step 4: Install the New Glass
- Apply Glazing Putty: Roll the glazing putty into thin strips and press it into the frame where the glass will sit. This creates a bed for the glass to rest on.
- Place the Glass: Carefully lift the replacement glass and position it into the frame. Press down gently to ensure it sits firmly in the putty.
- Secure the Glass: Use glazier's points or small nails to secure the glass in place. Space them about every 6 inches along the edges of the glass.
- Apply More Putty: Once the glass is secured, apply more glazing putty around the edges. Use your putty knife to smooth it out, ensuring it covers the edges of the glass completely. This step is crucial for sealing and protecting the glass from the elements.
Step 5: Finishing Touches
- Seal the Edges: If you’re using silicone sealant instead of putty, run a bead along the edges of the glass, smoothing it out with a wet finger or a sealant tool.
- Prime and Paint: If you’ve exposed bare wood during the process, apply a wood preservative, followed by primer and paint or wood stain to match the rest of your door.
- Clean the Glass: Once the putty or sealant has cured (follow the manufacturer’s instructions), clean the glass with a glass cleaner to remove any smudges or fingerprints.
Step 6: Allow to Cure
Let the putty or sealant cure completely before exposing it to rain or heavy use. This may take several days, depending on the product used.
Additional Tips for Different Sizes of Glass
- Small Patches: For small cracks or chips, consider using a glass repair kit designed for minor damages. These kits usually include resin that can fill small gaps, providing a quick fix without needing to replace the entire pane.
- Large Panels: If you're replacing large glass panels (especially in double-glazed doors), it may be best to consult a professional. Larger panes can be heavy and awkward to handle, and double-glazing often requires special techniques to ensure insulation properties are maintained.
- Safety Considerations: Always handle glass with care. If you’re unsure about any part of the process, especially when it comes to cutting glass, don’t hesitate to call a professional glazier.
Conclusion
Replacing glass in a wooden front door, regardless of its size, can be accomplished with the right tools and techniques. By following this detailed guide, you can ensure that your front door is both secure and visually appealing. Regular maintenance and timely repairs not only enhance the aesthetic value of your home but also contribute to energy efficiency and security. Always prioritise safety during the process, and don’t hesitate to seek professional help if needed.
Disclaimer: Sunlight holds no responsibility for any work that you or anyone else carries out based upon the information contained within these help pages (i.e. prices and information contained may change at any time) - we are simply offering various suggestions to help ease your pain and lower your stress levels. For peace of mind, we always recommend using insured and trained personnel to carry out any work, to obtain an up-to-date quotation from at least three suppliers and to get as much information as possible from the company whom you choose to conduct business with.
Call in the Professionals!
01565 650 195
Why attempt to take on complicated work yourself? It could end up costing you more. Instead, make contact with our pro-maintenance team for a consultation to discuss your needs today. Understandably, for the work to be cost-effective, you must live within a 20 mile radius of Knutsford.
Visit our showroom:
Sunlight Windows & Conservatories
Fryers Garden Centre
Manchester Road
Knutsford
Cheshire
WA16 0SX
Leave a reply