
General DIY 02 - Replacing Silicone Sealant Around Windows
Silicone sealant around windows plays a crucial role in protecting a property from water ingress, draughts and gradual structural deterioration, yet it is often overlooked until visible cracking, peeling or mould appears. Over time, exposure to sunlight, fluctuating temperatures and general weather conditions can cause sealant to shrink, harden or detach from frames and masonry. In areas such as Cheshire and Manchester, where rainfall and seasonal changes can be significant, maintaining watertight window seals is essential for preventing damp patches, internal staining and hidden timber or plaster damage.
At Sunlight Windows & Conservatories, positioned at Fryers Garden Centre in Knutsford and assisting homeowners throughout Cheshire and the Manchester region, we regularly highlight the importance of correct sealing as part of both new installations and refurbishment projects. Whether working on a conservatory, orangery or standard window replacement, high-quality sealant application is fundamental to long-term performance.
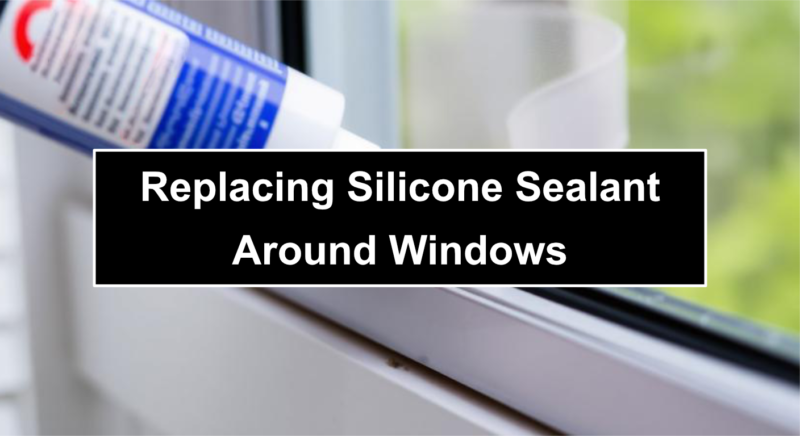
Replacing silicone sealant is a manageable DIY task when approached carefully, and it can significantly improve both the energy efficiency and overall appearance of a home. Fresh, neatly applied sealant not only enhances weather resistance but also provides a clean, professional finish that complements glazing and frame installations.
Poorly applied or deteriorating silicone can compromise insulation, allow moisture penetration and undermine even the most advanced glazing systems. By understanding how to remove and replace sealant properly, homeowners can protect their investment and maintain the integrity of their property’s external envelope.
Signs that silicone sealant needs replacing
Before beginning the replacement process, it is important to assess whether the existing sealant has genuinely failed or simply requires cleaning. Identifying deterioration early prevents water damage and ensures that remedial work remains straightforward rather than escalating into more extensive repairs. Visual inspection both internally and externally will usually reveal whether replacement is necessary.
View this! View one of our bespoke Orangery extensions
• Cracking or splitting: Visible fractures along the bead indicate ageing and loss of flexibility
• Peeling or detachment: Sealant pulling away from the frame or wall creates gaps for moisture
• Persistent mould growth: Black mould embedded within silicone often cannot be fully cleaned
• Shrinkage: Noticeable gaps at corners or joints where sealant has contracted
• Draughts or water ingress: Cold air or damp patches around the window reveal compromised sealing
Recognising these warning signs allows homeowners to act before more serious structural or cosmetic damage occurs. Timely replacement maintains insulation performance and preserves surrounding plaster, timber and decorative finishes.
How to remove old silicone sealant safely
Successful resealing depends largely on thorough preparation. Applying new silicone over old material will not create a durable bond, so complete removal of the existing sealant is essential. Taking time during this stage ensures a cleaner finish and longer-lasting results.
• Use a sealant removal tool or sharp utility knife to carefully cut along both edges of the bead
• Gently pull away the loosened silicone in strips, avoiding damage to frames or masonry
• Remove residual fragments using a plastic scraper
• Clean the surface with a suitable solvent or specialised silicone remover
• Allow the area to dry completely before applying new sealant
Proper removal prevents uneven adhesion and reduces the risk of premature failure. Ensuring the surface is clean, dry and free from grease or dust is fundamental to achieving a professional result.
Applying new silicone sealant correctly
Once preparation is complete, applying fresh silicone requires patience and steady technique. Choosing a high-quality, weather-resistant exterior-grade silicone is vital, particularly for properties exposed to frequent rainfall and temperature variation. Careful application ensures an even, watertight seal that enhances both performance and aesthetics.
• Cut the nozzle at a 45-degree angle to match the desired bead width
• Apply masking tape along both sides of the joint for a neat finish
• Use consistent pressure on the sealant gun to create a continuous bead
• Smooth the silicone immediately using a sealant finishing tool or damp finger
• Remove masking tape before the sealant skins over
Taking time to achieve a smooth, uninterrupted bead improves durability and visual appeal. Allowing adequate curing time according to manufacturer instructions ensures the seal fully bonds and provides reliable protection against moisture and draughts.
Maintaining window seals for long-term performance
After replacement, ongoing maintenance helps maximise the lifespan of the new sealant. Regular visual inspections, gentle cleaning and prompt attention to minor defects prevent gradual deterioration from becoming a larger issue. Silicone typically lasts several years, but environmental exposure and building movement can influence longevity.
• Inspect seals annually for early signs of wear
• Clean gently using non-abrasive products
• Address minor gaps promptly before water ingress develops
• Avoid using harsh chemicals that may degrade silicone
• Monitor internal walls for signs of damp or staining
Consistent maintenance supports energy efficiency, reduces condensation risks and protects internal finishes. In well-maintained homes, properly installed silicone contributes significantly to overall building performance and comfort.
Professional guidance from Sunlight Windows & Conservatories
Sunlight Windows & Conservatories, situated at Fryers Garden Centre in Knutsford and supporting households across Cheshire and Manchester, understand that correct sealing forms the foundation of any high-performing glazed installation. Our experienced team ensures that every conservatory, orangery and window project is completed with precision sealing techniques designed to withstand British weather conditions.
We assess each property individually, advising on maintenance, refurbishment and upgrade options that protect against moisture, draughts and heat loss. Whether refreshing existing seals or investing in a new glazed extension, professional attention to detail ensures your home remains efficient, comfortable and visually refined for years to come.
View this! General DIY 03 - Fixing A Dripping Tap
Disclaimer: Sunlight holds no responsibility for any work that you or anyone else carries out based upon the information contained within these help pages (i.e. prices and information contained may change at any time) - we are simply offering various suggestions to help ease your pain and lower your stress levels. For peace of mind, we always recommend using insured and trained personnel to carry out any work, to obtain an up-to-date quotation from at least three suppliers and to get as much information as possible from the company whom you choose to conduct business with.
Call in the Professionals!
01565 650 195
Why attempt to take on complicated work yourself? It could end up costing you more. Instead, make contact with our pro-maintenance team for a consultation to discuss your needs today. Understandably, for the work to be cost-effective, you must live within a 20 mile radius of Knutsford.
Visit our showroom:
Sunlight Windows & Conservatories
Fryers Garden Centre
Manchester Road
Knutsford
Cheshire
WA16 0SX